


This tutorial will explain a very simple way for creating a nice glowing sparkles text effect, using a couple of brushes and glow layer styles.
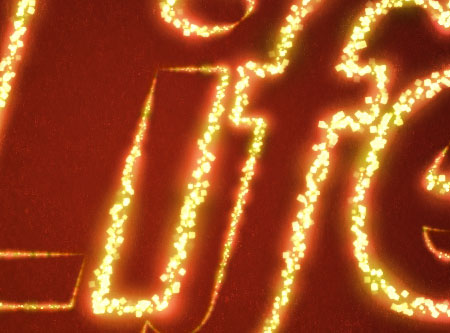
The Final Result:

Notes:
* the software used in this tutorial is Adobe Photoshop CS5 Extended
* the size of the final result image is 1024 * 768
* you might want to check the Basix Page to see some useful topics on dealing with Photoshop basics, such as loading palettes and some shortcuts.
* the size of the final result image is 1024 * 768
* you might want to check the Basix Page to see some useful topics on dealing with Photoshop basics, such as loading palettes and some shortcuts.
Resources:
Step 1:
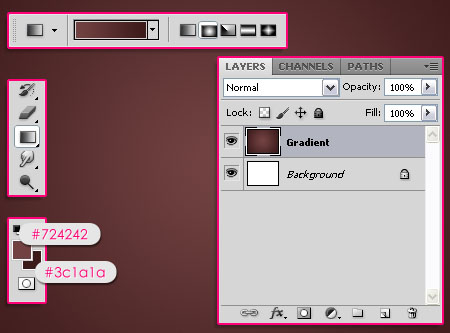
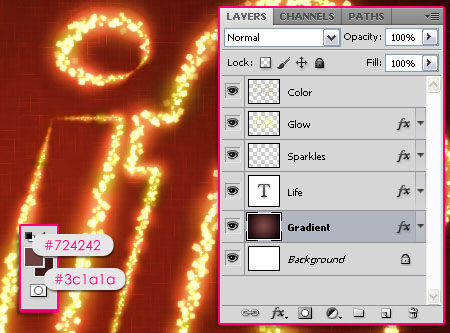
- Create a new layer on top of the Background layer and call it “Gradient”. Set the Foreground color to #724242, and the Background color to #3c1a1a, then, create aRadial Gradient from the center of the document to one of the corners.
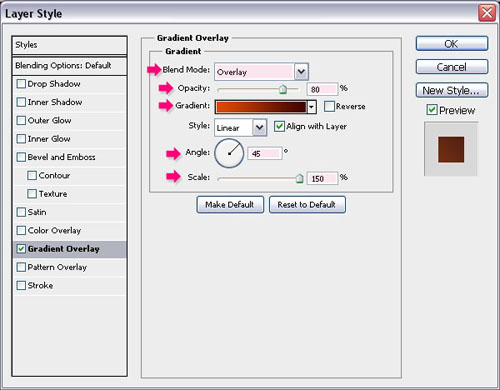
- Double click the “Gradient” layer to add a Gradient Overlay. Change the Bland Modeto Overlay, the Opacity to 80%, the Angle to 45°, and the Scale to 150%. Then click theGradient box to create it.
- Use the colors #dc4800 (to the left) and #430401 (to the right) to create the Gradient.
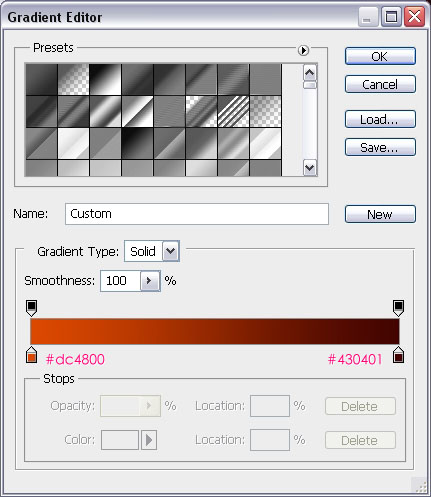
- This is what you should get.

- Go to Filter -> Sketch -> Water Paper, and set the values as shown below:
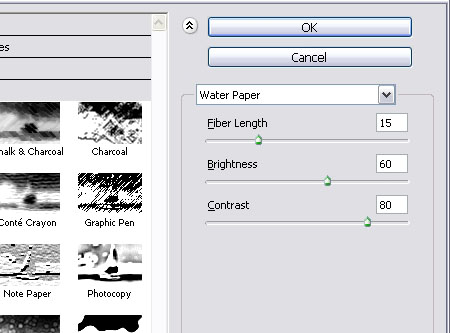
- This will add some nice looking sparkles to the Background.
Step 2:
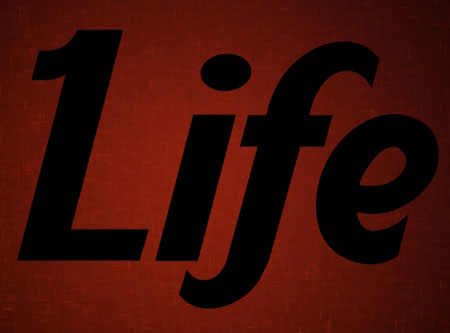
- Create the text in Black. The font used is Aardvark Cafe and the size is 500 px.
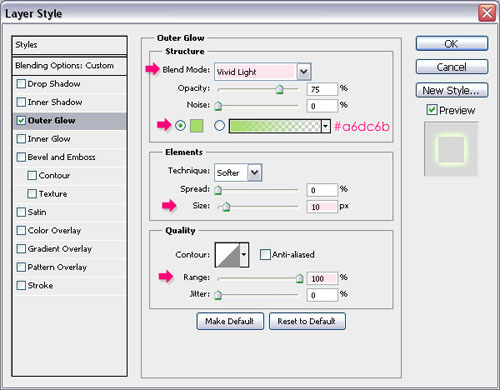
- Double click the text layer and add an Outer Glow. Change the Blend Mode to Vivid Light, the color to #a6dc6b, the Size to 10 and the Range to 100%.
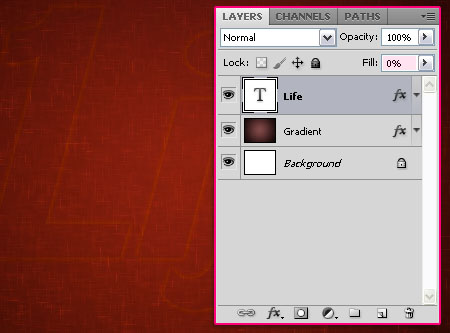
- Change the text layer’s Fill value to 0%. The text should have a very subtle glow effect.
Step 3:
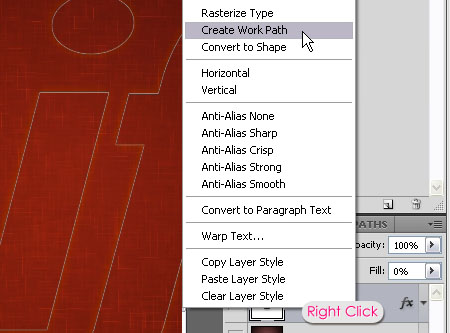
- Right click on the text layer and choose Create Work Path.
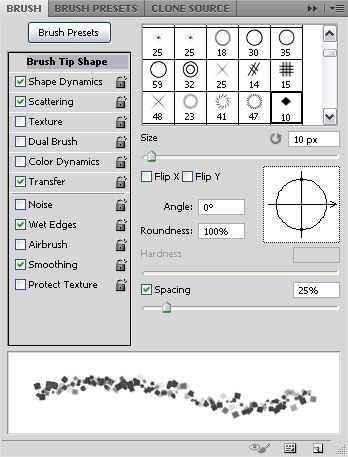
- Download the Modified Diamond Sparkles Brush. It is a simple diamond brush, and you can check its settings after you load it under the Brush panel (Window -> Brush). Select this brush before moving on to the next step.
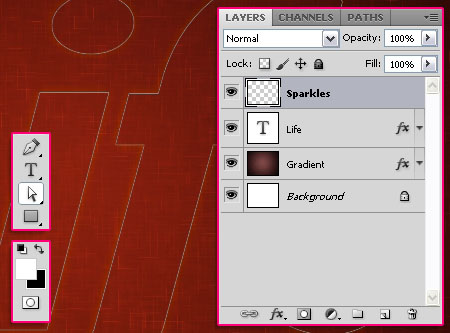
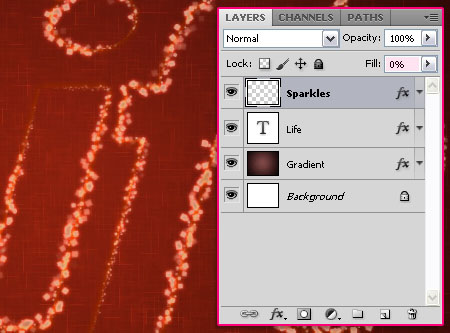
- Create a new layer on top of all layers and call it “Sparkles”. Set the Foreground color to White, and pick the Direct Selection Tool.
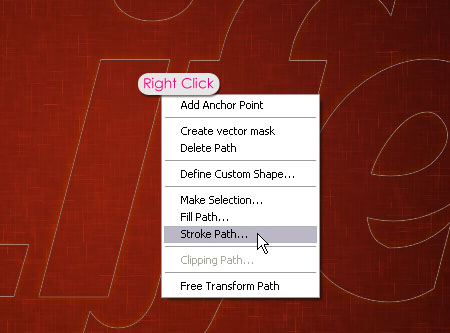
- Right click on the path and choose Stroke Path.
- Choose Brush from the Tool drop down menu, and check the Simulate Pressure box.
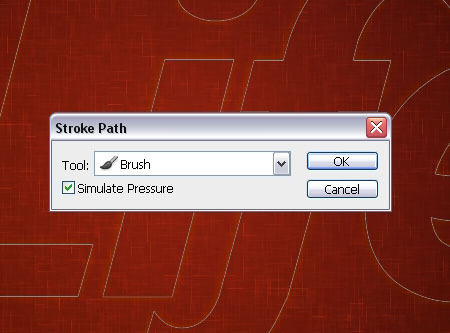
- This will stroke the path with the sparkles brush. Hit Enter to get rid of the path.
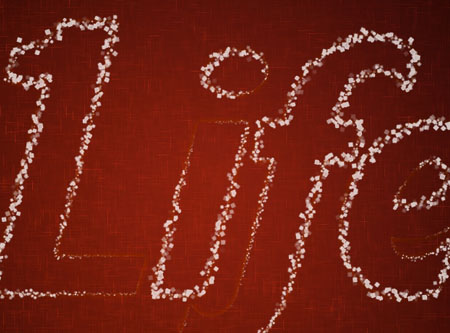
Double click the “Sparkles” layer to apply the “Glow” layer styles:
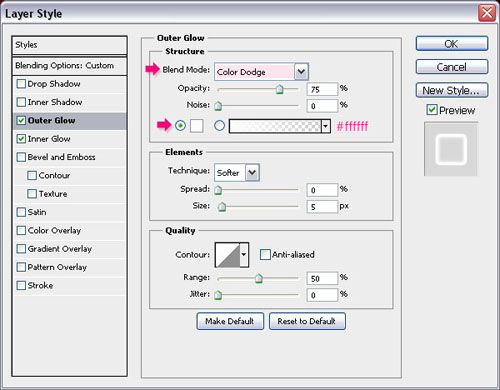
- Outer Glow: Change the Blend Mode to Color Dodge and the color to White.
- Inner Glow: Just change the color to #f4edd3.
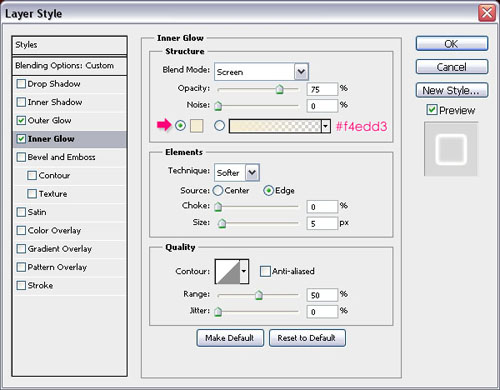
- This will add a simple glow to the sparkles. Change the “Sparkles” layer’s Fill value to0%.
Step 4:
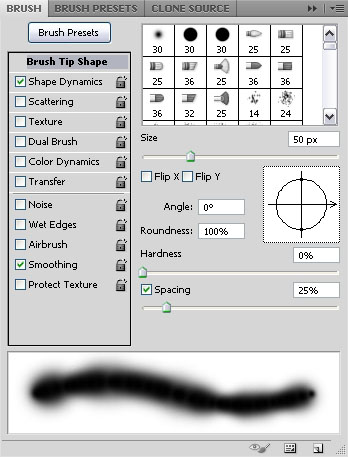
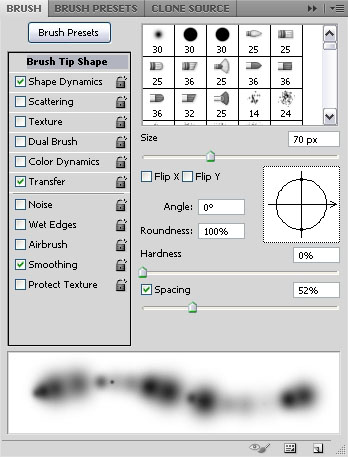
Choose a soft round brush, and change its setting’s values (Window -> Brush) as shown below.
- Brush Tip Shape:
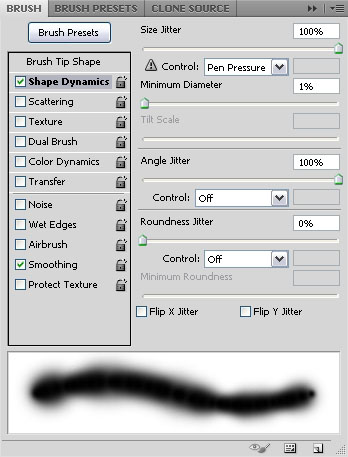
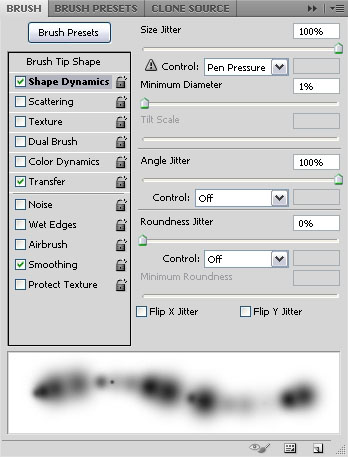
- Shape Dynamics:
Make sure to choose Pen Pressure from the Size Jitter – Control drop down menu.
Make sure to choose Pen Pressure from the Size Jitter – Control drop down menu.
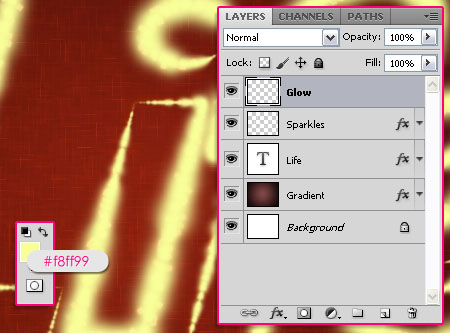
- Create a work path once again (right click on text layer -> Create Work Path), create a new layer on top of all layers and call it “Glow”, set the Foreground color to #f8ff99, and stroke the path (right click on the path -> Stroke Path) with the brush, and hit Enter.
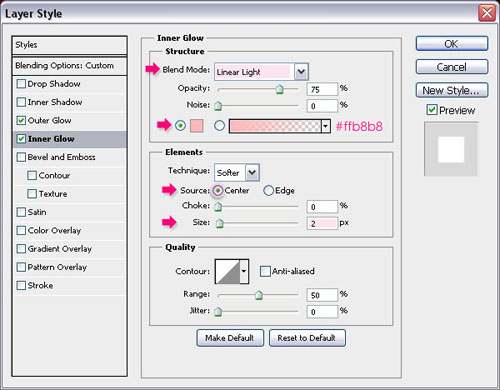
Double click the “Glow” layer to add more “Glow” layer styles:
- Outer Glow: Change the Blend Mode to Soft Light, the color to White, and the Size to2.

- Inner Glow: Change the Blend Mode to Linear Light, the color to #ffb8b8, theSource to Center, and the Size to 2.
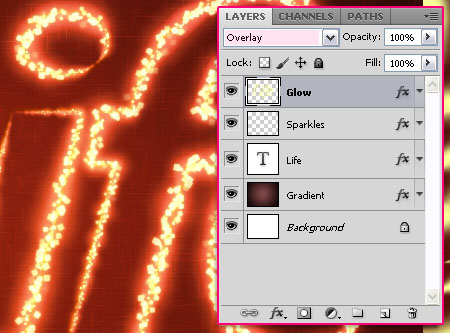
- Change the “Glow” layer’s Blend Mode to Overlay. Notice how bright the text is now.
Step 5:
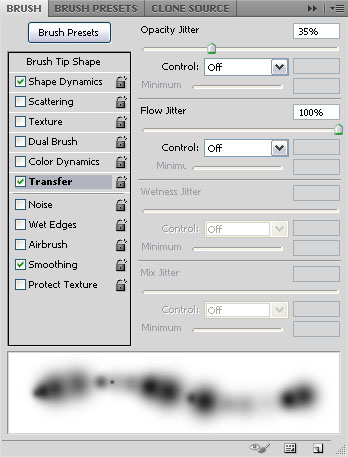
Once again, choose a soft round brush, and change its setting’s values (Window -> Brush) as shown below.
- Brush Tip Shape:
- Shape Dynamics:
Make sure to choose Pen Pressure from the Size Jitter – Control drop down menu.
Make sure to choose Pen Pressure from the Size Jitter – Control drop down menu.
- Transfer:
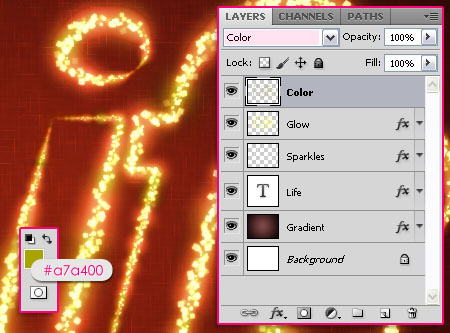
- Create a work path, create a new layer on top of all layers, call it “Color” and change itsBlend Mode to Color, set the Foreground color to #a7a400, and stroke the path with the brush, then hit Enter.
This will add a nice green tone color to the glow.
* You can stop right here if you like the effect this way. The following two steps are optional, but they add a nice touch to both the Background and the text, making the final effect more winter-holiday-like. *
Step 6:
- Set the Foreground and Background colors back to #724242 and #3c1a1a, then select the “Gradient” layer.
- Go to Filter -> Brush Strokes -> Sprayed Strokes, and change the values as shown below:
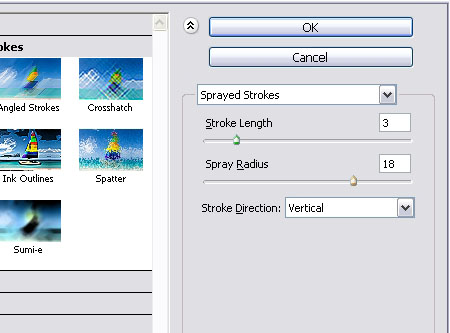
- The big sparkles in the Background will disappear, leaving a smoother looking splattered-like texture.
Step 7:
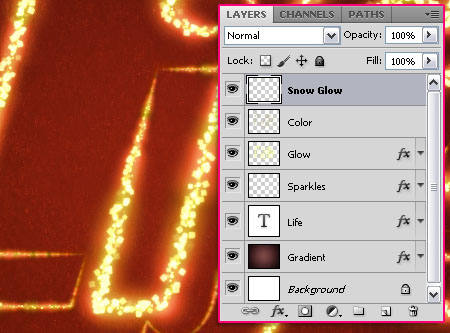
- Create a new layer on top of all layers and call it “Snow Glow”, then double click it to apply some more “Glow” layer styles.
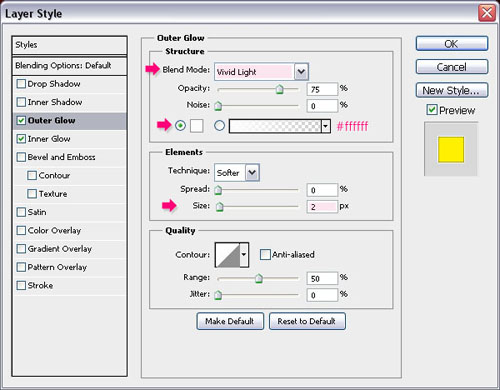
- Outer Glow: Change the Blend Mode to Vivid Light, the color to White, and the Sizeto 2.
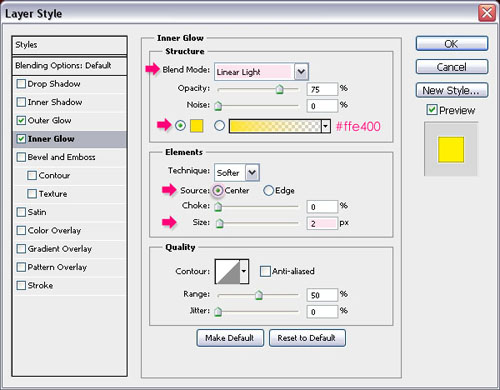
- Inner Glow: Change the Blend Mode to Linear Light, the color to #ffe400, theSource to Center, and the Size to 2.
- Set the Foreground color to White, and use the last brush you created (in Step 5) to draw some “glowing snow – like” strokes along the text edges. You can use the “Eraser Tool” to remove any unwanted areas.
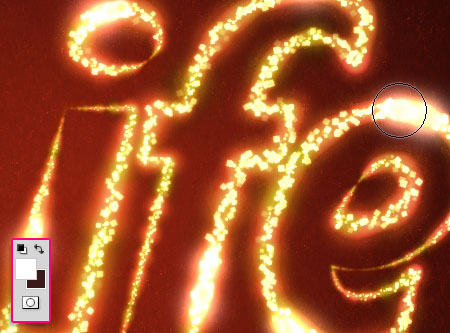
And we’re done!
Categories:
Text Effect


0 comments:
Post a Comment